Tuesday, May 15, 2012

Long Time, No See and a Wedding

Soooo... It has been FOREVER since I last posted!!! Ahhh!!
I have been crazy busy over here. I went to the East Coast and got home a little over a week ago and I've been going non-stop ever since. Today was my first day off work and I've been spending the day cleaning up "shop" so to speak. I finally unpacked my suitcase {poor hubby's biggest pet-peeve} and so much more. I deep cleaned my pantry and fridge! Major bonus points for moi... Spent a little time with the hubby... And even managed to vacuum the floors. :) I now have a happy hubby! Ha!
Over the next week, I will be posting my pictures from Maryland and New York. I warn you ahead of time, it will be photo overload! You all don't mind, do you?!? Ok cool, I didn't think so! 
So I will leave you with these lovely photos of my sis in-laws wedding this past Saturday. It was a sweet and intimate ceremony in San Francisco right on the beach {fabulous spot}. The backdrop was a gorgeous view of the bridge. Congrats Richard and Michelle, we love you! 
4 sisters. Bride and hubby. Beautiful Bride and I.
My handsome nephew Ethan.
Hubby & I {Dear Lord, he is so HOTT}.

Have a fabulous evening!

Much Love,
Sarah

Saturday, May 5, 2012

DIY: Birthday Invitations

Sooo... It's officially my birthday month! Anyone who knows me well knows that I LOVE my birthday! It's so much fun that I celebrate it all month with special emphasis on the week of my birthday. Ha!
Ever since I was little, my mom has always made a BIG deal about each of us kids' birthdays. We had AMAZING parties with whatever theme we wanted and she would go all out. As I got a little older, I went through this phase where I would be embarrassed at this for some reason {sorry mom} and wanted smaller and simpler parties. 
Example: Chuck E. Cheese's parties or one year I picked my two besties to go to Great America for an all expense paid day of fun. 
Although I'm not living with my parents anymore and my mom isn't here to spoil me rotten, I've adapted this love for parties again. Last year, I had an amazing birthday party. I loved it. I had sort of a "vintage, light pink" theme and had family and friends came to celebrate with me. We had a blast! Anyways, back to the DIY part of this post. I'm going to show you how I made the invites to my party! Sorry if in a few parts it looks awkward, I faded where the personal info was since this party was not at my own home. Enjoy!

Here is my finished invite. I just loved how they turned out. Who doesn’t go gaga for ruffles? {Not me!}

What you will need:
1. Paper of choice 
2. Tissue paper
3. Scissors
4. Sewing machine
5. Small flower or jewel

STEP ONE: Get together your paper {I went to Joanne’s and bought 12×12 scrapbooking paper} and scissors. Cut out the size cards you want. I cut 5×7 cards. 
You should now have your cards cut out!

STEP TWO: Print your invitations.

STEP THREE: Take your tissue paper and cute into about 2 inch strips. Now accordion-style fold it all the way down. 
You should now have this… Your “ruffle”.

STEP FOUR: Cut sides of “ruffle” down to the size you want. I did about 1.5 inches. You don’t want your ruffle to be too big as it would take over your invite! Lay out your ruffle on your invite to eyeball how big it should be. Now sew your ruffle onto your invitation. 


STEP FIVE: All you have to do now is place a small flower, gem or whatever creative thing you can think of on the bottom of your ruffle. 


STEP SIX: Relax, you just made a beautiful invitation! Congrats!

Hope you enjoyed this tutorial!!

Much Love, 
Sarah

Wednesday, May 2, 2012

Same Time... Next Week

I'm heading to the airport now!! 
I probably won't be blogging while I'm away, so I will see you all here at Sarandipity next week!!
Have an amazing one, I know I will :)


Much Love,
Sarah

Tuesday, May 1, 2012

Having Hubby Home Again and Date Night: Mongolian BBQ

I am SO happy to finally have my hubby home with me!! 
After being away almost 3 whole days, I was beginning to feel lost without him! 
Before you go and think the worst, let me tell you where he has been... Every year the men at our church have what they call a "Men's Retreat" they go up into the mountains and have a good time. The theme is "Fire on the Mountain". They have bible studies, life lesson classes, discussions and so much more. The point is to get away from the hustle and bustle of life and re-evaluate the way you are living and re-evaluate the way you treat your wife/children/God. Also to revive and strengthen both your marriage and your walk with God. Brian came home so pumped and re-focused. Also, to have a great time doing guy stuff {whatever that is...}. Although he says he missed me the whole time {right...}, I'm so happy he went! Ha!
Back to things that have been new here at our place. 

Well, I have been working like a crazy person over here. I've started a new job {along with having the pre-school position}. So that has been keeping me pretty busy... I've been working almost every day doing training and all that fun stuff you do when starting a new job! Ha! 

So... I leave tomorrow for Maryland and the next morning we turn around and leave for New York! Busy, busy girls! {see post HERE} I'm SUPER stoked! I haven't even begun to pack and I should be doing that instead of blogging, but oh well... It will get done somehow, even if it turns out to be at like 2 in the morning. Hehe :) Poor Brian, he has to put up with so much! {But he loves it!}

Today has been a fabulous day so far. I worked from 8-1 {ran outta gas on my way home from work, but we are pretending that never happened-DRAMA} then I had a pedicure this afternoon. The hubby and and I walked to Mongolian BBQ for dinner before he had his Small Group. I have never been to Mongolian BBQ and I can't believe I waited so long to go! It was amazing! You pile as much meat, noodles and veggies as you can into a bowl and they cook it all up for you! So neato! Here are some photos of our date...


 Isn't he just the cutest thing you've ever seen?!?!

Paying for our meal... 

Well, I'm off to get my eyebrows threaded and make a last minute Target run!!

Happy Tuesday Lovely Friends!!

Much Love,
Sarah


Saturday, April 28, 2012

DIY: Bunting Banner


Hello Lovelies... 
I'm going to be doing my first DIY project here on Sarandipity. It is actually a project I did for my birthday party last year and was featured in the famous "Evy's Tree" blog {click HERE}. I just loved the way it turned out. :) Something about bunting just makes every party a little more unique, especially when it is handmade... Don't you agree?
So here goes!
I promise you, even if you are NOT the do it yourself type person, you will be amazed at how simple this is and how great you can have it turn out in a short amount of time.

What you will need:
1. Fabric of choice
2. Scissors
3. Bunting Template
4. Sewing Machine or Fabric Glue
5. Ribbon of choice


STEP ONE: Go to google images and print out a “Bunting Template”
Find a size/shape you like. I printed a triangle as big as the page using the template {HERE}.


Get together your material, template and scissors.

STEP TWO: Cut out triangles

STEP THREE: Take your ribbon and pin the fabric triangles to it. You are now going to sew them together!
**If you do not have a sewing machine here is where the fabric glue comes in. You would glue the fabric triangles onto the ribbon instead of sewing**
When I got in between the triangles, I just kept the sewing in a straight line.
You should now have a line like this!

STEP FOUR: Fold your ribbon in half and pin… This will cover any frayed edges or ugly backing. (This step is not necessary, unless the back of your bunting will be showing in any way… OR if you are a tad bid O.C.D like me–ha) 
This is what my backing looked like, so I decided to fold over and sew. 
Folding…
Trying to get it straight…
Pinning down…

STEP FIVE: Now all you do is sew all the way from one end of your ribbon to the other!
Hooray! Now you are finished!

Finished product…
Just one more… Hehe

There you have it folks, your very own handmade simple, yet darling bunting! Hope you enjoyed it and even try it yourself one of these days. It would be perfect for a backyard BBQ or a birthday bash! Have a glorious day!

Much Love,
Sarah

Friday, April 27, 2012

Food Friday: Taco Cups

Helloo there...

Today I am trying something new and linking up with my friend Amy of Evy's Tree for "Food Friday" 
We had a Bible study with friends the other night at our place and I made Taco Cups. They were very much enjoyed and needless to say we had no leftovers!! I paired the taco cups with Spanish rice and chips and salsa {Hubby is a HUGE fan}.
 This recipe is both speedy and delicious!! You will be amazed!! Although I would have loved to have come up with this fabulous recipe, I found this recipe originally on another blog and modified it to fit our families needs, example: ground turkey instead of ground beef. {http://bricelife-gabrielle.blogspot.com/2012/01/taco-cupcakes.htmlhttp://bricelife-gabrielle.blogspot.com/2012/01/taco-cupcakes.html
So... Without further ado...

What you will need: 
Muffin tin {12 cupper}
Cooking spray
1/2 lb ground turkey
1/2 packet taco seasoning
3/4 can black beans {I use reduced sodium}
18 wonton wrappers {I found mine near the frozen tofu, ask associate if you can't find them-hehe)
Queso dip to taste, around 6 T {I used more for hubby and less for mine}
1 cup chunky salsa
1 cup Mexican cheese {we LOVE this in our home!}
Sour cream/guacamole/olives for topping taco cup off

{I accidentally had thrown away the wonton wrapper package so it is not pictured!}

Before I begin, I want to tell you that I didn't stick too strictly to the recipe. I used a whole lb of turkey and a whole packet of taco seasoning. Feel free to use this recipe as a general guideline and experiment to your taste buds desire! :) Any leftovers can be used in a quesadilla or tacos for lunch the next day!
STEP 1: Pre-heat your oven to 375 degrees. Lightly mist your muffin tin with cooking spray and set aside.
STEP 2: Brown your ground turkey over med-high heat. Add your taco seasoning {mine I put in after meat was browned and had to add water, yours may be different} Add black beans and continue to cook, stirring occasionally. Cook a few minutes until warm.


{I had leftover ground turkey I had browned for lunch, so I used that and spooned in black beans}

STEP 3: Push a wonton wrapper into the bottom of each greased muffin cup {Not as hard as it may seem, I promise}. Spoon about half teaspoon of the queso dip into bottom of each cup and spread around.


STEP 4: Spoon meat/bean mixture into bottom of cups. Around 2 teaspoons. Do NOT overfill at this point! Next spoon a teaspoon or so of salsa into each cup. Sprinkle with a pinch of cheese. 


**add salsa here**


You are doing FABULOUS!! Keep it up!!

STEP 5: Press another wonton wrapper on top of your already layered cups {I slightly pressed wonton wrappers together to form a "seal" of sorts} and repeat steps 3 & 4. Making sure you do not overfill your cups.

STEP 6: Bake for 16-18 minutes or until slightly brown. Let cool for about 5 minutes before serving. This helps with the cups keeping their form. ENJOY! :)


**Feel free to top with sour cream/guacamole/olives or whatever else you like on your Taco Cups!!**

For dessert I made brownies topped with fresh cut strawberries. I would love to brag about how they were from scratch and how fluffy and great they turned out... But for now, I'll settle with boxed brownies. No shame in that right? For the record: they turned out fabulous and fluffy!! Ha!! :) 


While we ate dessert, we had our Bible study. We had a great time with our friends Gabriel and Mayra {and their darling little girl, Giselle} We didn't get a photo of all of us together, it just slipped my mind, but I did manage to snap this cute photo of Giselle. When she got bored with the cartoons, she insisted to be a part of our Bible Study and sit with the grown-ups! Ha!


What are some of your favorite recipes? I'd love to know! Comment below and share if you dare! Haha! 

Much Love,
Sarah


Wednesday, April 25, 2012

What I Wore Wednesday, Little Lamb and BBQ

I'm baaaaaack...  With another "What I Wore Wednesday" that is!!
I know you are all thrilled, right? Ha! Let me just start out by saying that summer here in CA can be beautiful but brutal. I'm talking about 110 degrees in the summer. It's not like that every day, but it has already been in the 90's the past few days. YUCK! I love it being warm, but I don't do extreme heat well. At least there isn't humidity, thank God. :) Sooo... I went to a friends BBQ the other day {this is not actually what I'm wearing today...} and it was over 90 degrees outside. I wanted to wear something fun and breezy because earlier that same day I had lunch with friends and wore a 3/4 length black shirt. I was dying of heat exhaustion {ok, I'm slightly exaggerating, but seriously...} because we ended up being outside for part of the luncheon {they had just got 4 baby lambs!}. So here is my breezy, cool summer pick...


 Isn't that piece of yellow trash great? How did I not notice that earlier?

MINT TOP: h&m, WHITE LACE TANK: Gap, JEAN SKIRT: Ann Taylor, PURSE: h&m, 
WATCH: vintage, WEDGE SANDALS: Old Navy, SUNGLASSES: Forever 21

Little Lamb
I asked my hubby for a baby lamb after we left our friend's home for lunch... He responded with, "Of course babe, we can keep him on our back porch". Our back porch is like 5 ft x 10 ft. Tiny-ha!


Sooo precious

BBQ
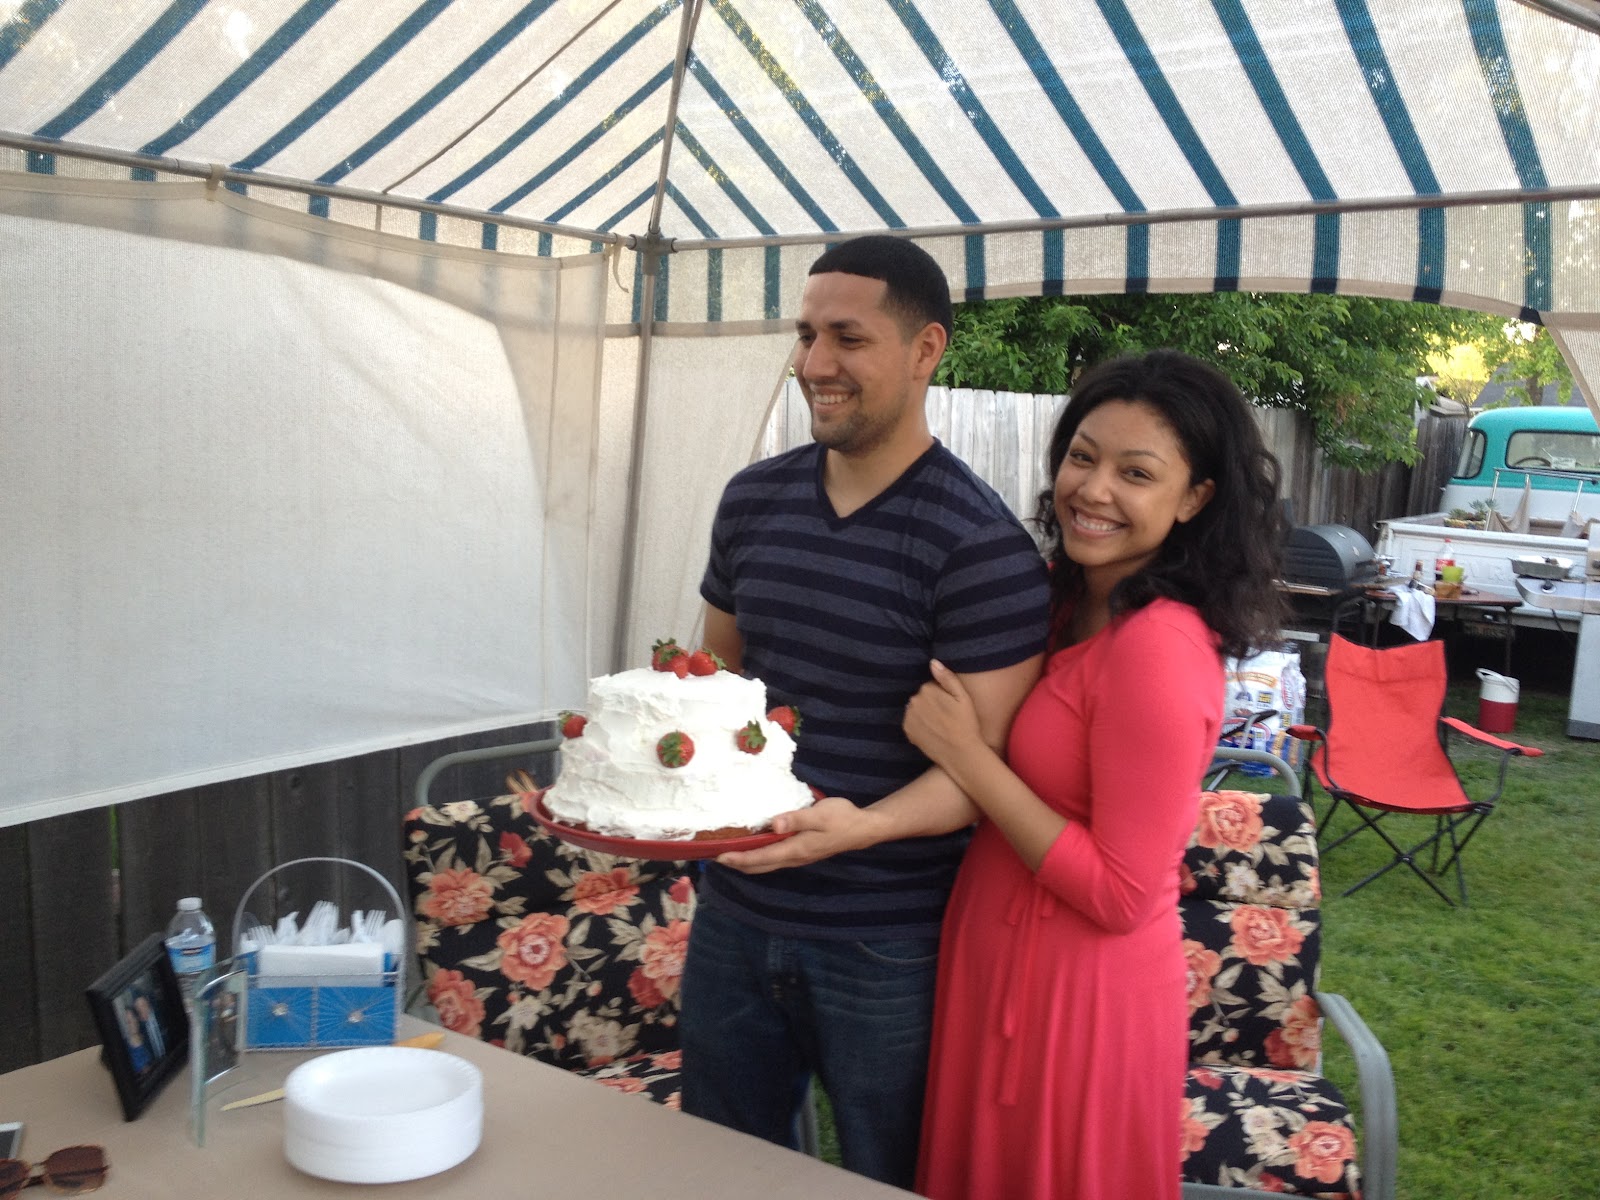
The BBQ I mentioned earlier was actually more of a "welcome to the family" BBQ. Some good friends of my husband and I's had just gotten married and had a destination wedding in San Diego. Some of his family was not able to make the trip. So his parents had a family BBQ {which they are famous for} to officially welcome my beautiful friend Ness into their family. Everyone had a really nice time. 
Here are a few shots I got during the BBQ. 

This darling little guy loved my lotion I guess :)

 This cake was pure BLISS!! Yummy layers of homemade strawberry filling...

 Good thing Green Lantern was there to protect us all

 Abe and Ness

A bit blurry, but some of the Groomsmen and close friends of the Groom.

Have a wonderful {almost} summer day my lovely friends!!

Much Love,
Sarah